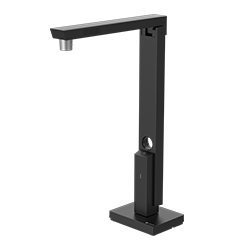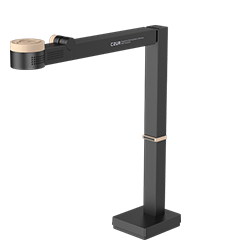
- How to use CZUR Scanner?
- How to Scan books?
- Firmware upgrade steps
- Exceptional problems
- Glossary
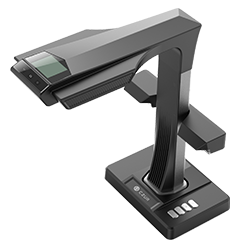
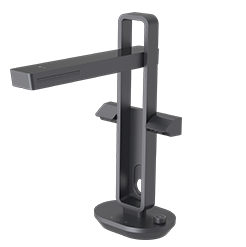
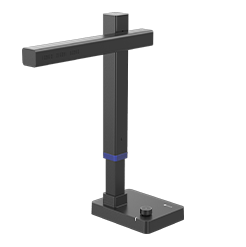
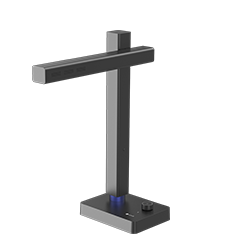
a) Take out the scanner and accessories from the package, then connect the DC power adapter, USB cable and scan button in turn;

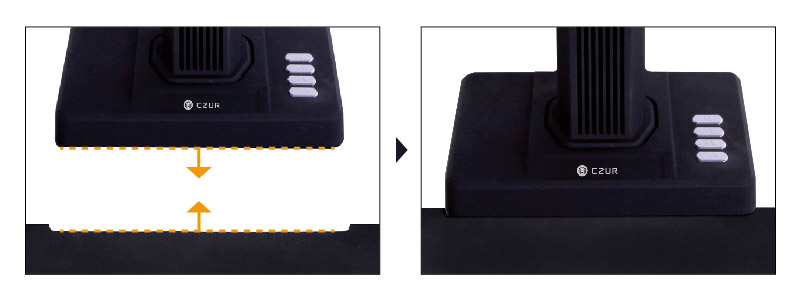
b) Place the black soft pad under the scanner’s lens, adjust the pad to ensure that the two corners are aligned with the base. Make sure the pad can cover the entire display, and no other things exposed except the document to be scanned. Check the LCD on the head portion to see if the black soft pad covers the entire screen and ensure that the desk surface or random edges are not included within the scan(Tips: All the scanning work must be done on the soft texture pad. )
c) Please turn on the LED light when scanning. There are two brightness levels for the LED light. Please adjust light level at your needs.
Please download the software installation package on official website:
http://www.czur.com/support/et16#software
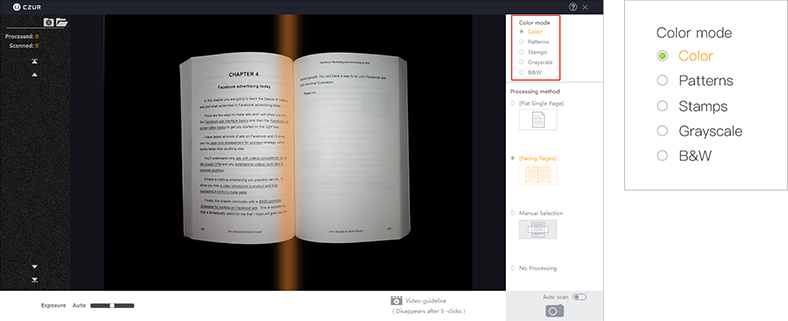
Please select the color mode on the right side of the preview interface.
There are Color, Patterns,Stamps, Grayscale and white&black (B/W) mode are avaiable for you.
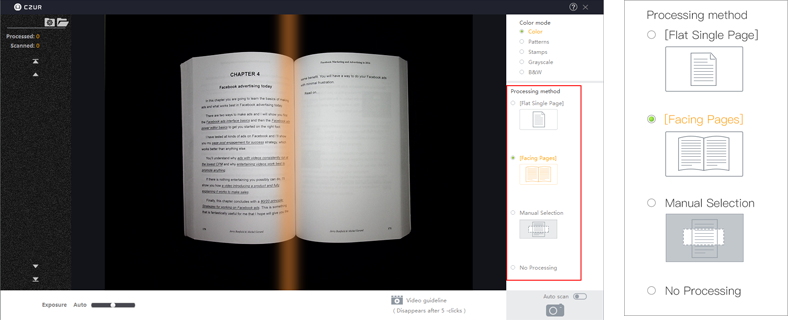
Please select the processing method on the right side of the preview interface.
There are [Flat Single Page] 、[Facing Page]、Manual Selection and No processing.

Foot Pedal Hand Button Keyboard Plate Scan button in software
a) Select ‘All’ images on the file list;
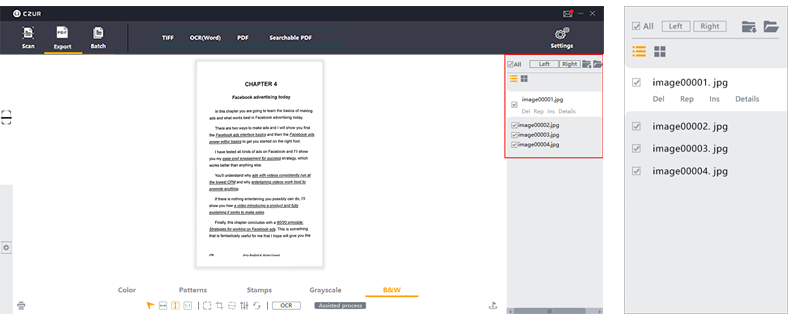
b) Export all the images to PDF, Searchable PDF or OCR(word) file.

c) Edit the scan results in Batch.
Select ‘All’ images on the file list;
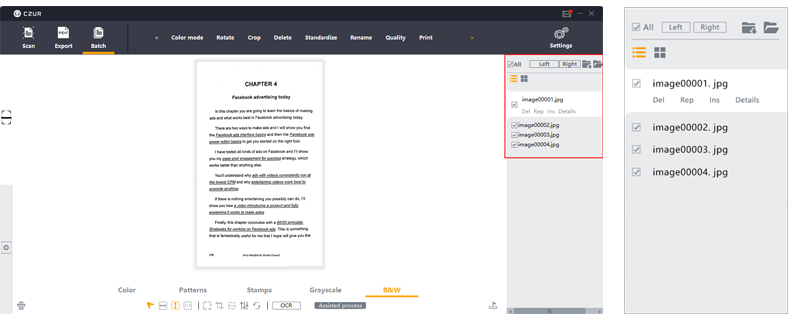
You can change color mode, choose rotate, crop, standardize, or carry out various types of batch processing for multiple images.

a) Turn on the scanner, then select [Facing Pages] processing mode.
b) Keep the bound document open, you may press the blanks on both sides of the pages. Please wear the finger cots when pressing the document. Foot pedal are more convenient for scanning bound documents.
c) The software will automatically flatten curved, finger removal, perform deviation correction, edge trimming and quality adjusting of the pages.
d) Please close the preview window for scanning results.
When you scan reflective materials such as magazines or glossy books. You could turn off the built-in LED light in the scanner,and move device to a bright natural light place to scan the pages.
Please download upgrade file from our website : http://www.czur.com/support/et16#firmware .
a) Turn off the scanner, long press “Zoom+” button then turn on the scanner at the same time. (That means you need press the “Zoom+ ”button all the time even though you have turned on the device until the scanner's LCD screen shows white background with our logo and stays on it).
b) The CZUR ET will now appear as disc (U:) in your computer file directory. Copy the UPDATE.BRN file to the root directory of disc (U:). User does not allow changing system files.
c) Gently pull out the computer-end USB plug, ensure device is power on to avoid unpredictable fault.
d) Device starts upgrading automatically. Red indicator light flashes for around 60 seconds. When red light is flashing, ensure device is power on to avoid unpredictable fault.
e) The device will restart automatically after the firmware upgrading successfully.
If the device LCD screen prompts invalid update, that means the firmware upgrade failed. You need to delete the invalid upgrade files, then go to the official website to re-download the firmware upgrade package and install once again. Please contact customer service for help if upgrade goes wrong.
a)Make sure the power adapter is powered, you can see the power indicator and scanner display are on.
b)Upgrade the device firmware.
c)If it still does not work, please contact our customer service for support.
If you meet one of these situations, please contact our customer service for support.
a) Check the scanner drive was installed successfully. If not, please install and try again. Please check as shown below:
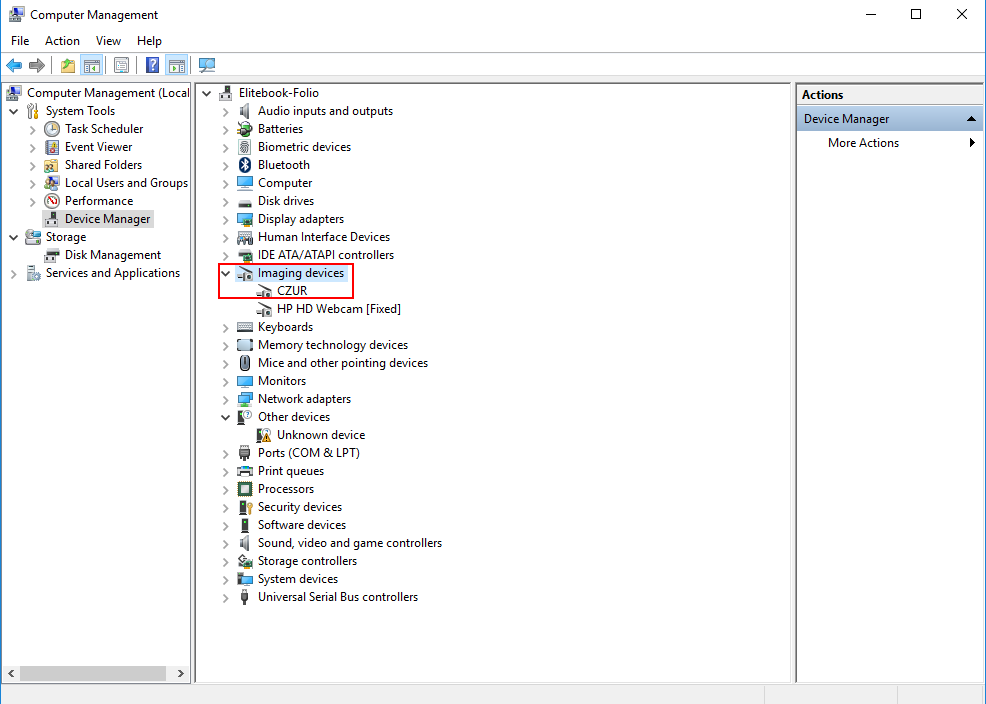
b) If the scanner driver installed successfully, you can
I. Restart your PC and shut down the antivirus software first. Then re-install software and try again.
II. Change another USB port and try again.(including the USB port which connect keyboard and mouse).
III.Change another PC and try again.
IV. Make sure in Windows "camera privacy settings","Let apps use my camera" is on!
c) If the above methods doesn’t help, please send the firmware and software version of this scanner to
customer service for support.
a) Make sure to wear the finger cots when you scanning.
b) Make sure the left thumb wears left finger cots, the right thumb wears the right finger cots.
c) Make sure the finger cots pressed in the middle of the edge (as shown), neither upside nor downside.
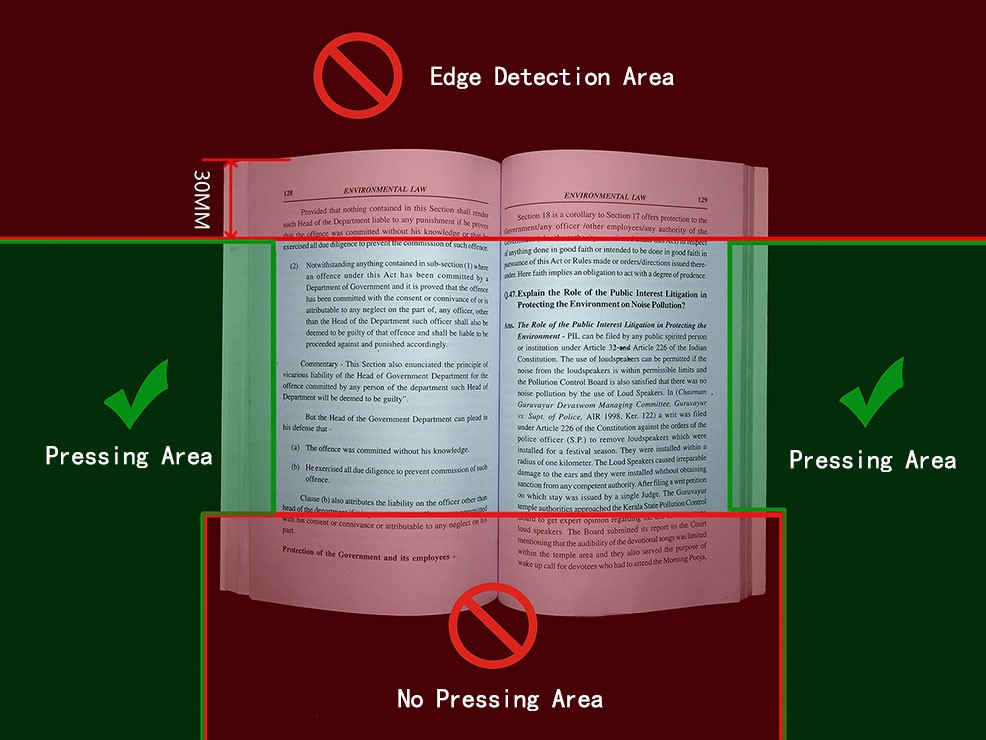
d) Send the wrong image to the customer service.
The Stamps is a proprietary word for the CZUR Scanner, which is a color processing mode that converts background color of the image to white and optimizes the colors of stamp markings. Suitable for stamped official documents printed on white paper.
The Patterns is a proprietary word for the CZUR Scanner, which is a color processing mode that maximizes watermarks and other markings with optimization of image color. Suitable for documents that bear watermarks or stamps. This model is suitable for documents with special watermarks and shading, such as ID cards, passports and other materials. The scanning results keep the effect of the document.
[Flat Single Page] is an CZUR scanner proprietary word, which is a paper processing mode. This mode is suitable for flat and non-curved (without finger pressing, without flattening and paging) material scanning, such as business cards, invoices, courier orders, book covers and single page documents. After scanning, the software will automatically perform deviation correction, edge trimming and quality adjustment of the pages.
[Facing Pages] is CZUR scanner proprietary word, which is a paper processing mode. This mode applies to the scanning of bound documents which have curved pages after opening including books, files etc. After scanning, the software will automatically flatten curve, remove finger, perform deviation correction, edge trimming and quality adjustment of the pages.
Computer Configuration Requirements

| OS | Windows 11 Windows 10 Windows 8 Windows 7 |
| CPU | PC with X86 processor (2 GHz or higher) |
| Memory | 4GB RAM minimum, 8GB RAM recommended. |
| Hard Disk | The installation and operation of the program requires 2 G disk space. You can scan more images if the disk space is bigger. The recommended storage is 20G. |
Computer Configuration Requirements

| OS | Support for MacOS 10.13 or later |
| CPU | 2 GHz or higher |
| GPU | Mac computers that support Metal |
| Memory | 2 GB RAM minimum, 8 GB RAM recommended. |
| Hard Disk | The installation and operation of the program requires 2 G disk space. You can scan more images if the disk space is bigger. The recommended storage is 20G. |
Computer Configuration Requirements

| OS | Windows XP |
| CPU | PC with X86 processor (2 GHz or higher) |
| Memory | 4GB RAM minimum, 8GB RAM recommended. |
| Hard Disk | The installation and operation of the program requires 2 G disk space. You can scan more images if the disk space is bigger. The recommended storage is 20G. |
Update log
1. New Feature: Newly connected device models automatically update their corresponding software serial numbers.
2. Fixed user-reported bugs and improved software stability.
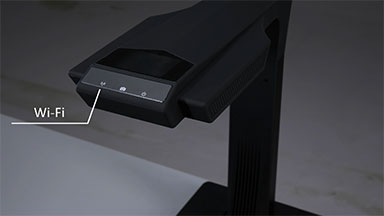
Product Appearance
2017-08-16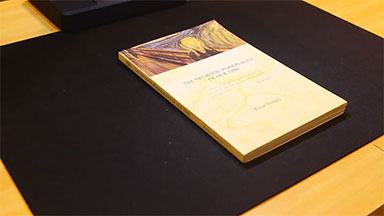
Scan a Flat Single Page
2017-08-16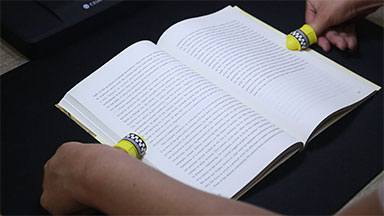
Facing Pages
2017-08-16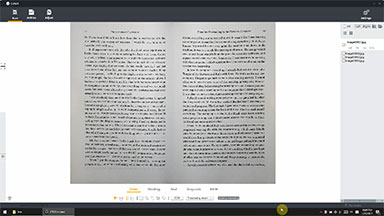
Natural Curve VS Unnatural Distortions
2017-08-16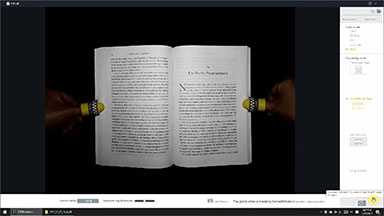
Auto Scan
2017-08-16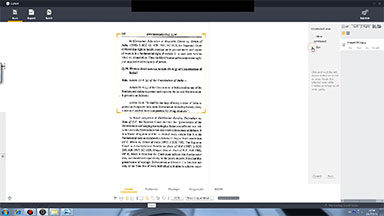
Buttons on the Bottom
2017-08-16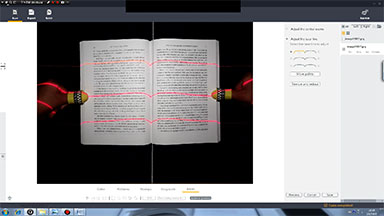
OCR, Processing Method, Assisted Process
2017-08-16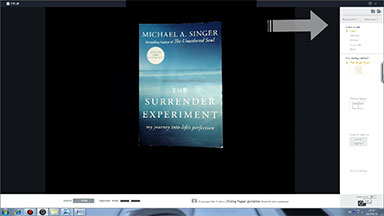
Color Mode, Processing Method
2017-08-16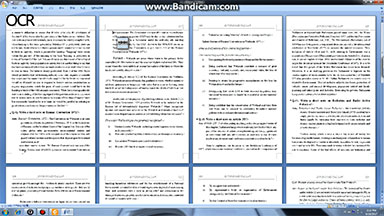
Batch Operation And Settings
2017-08-16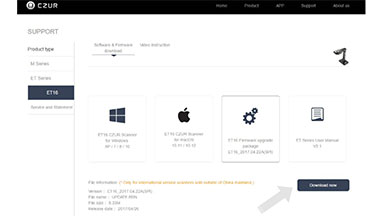
Firmware Upgrade
2017-08-16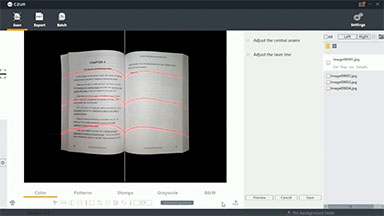
How to Scan a Book
2017-12-13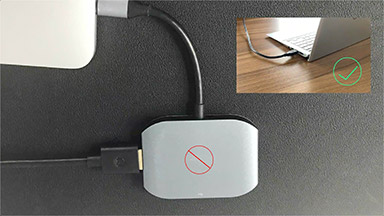
How to fix detecting devices issue
2020-05-25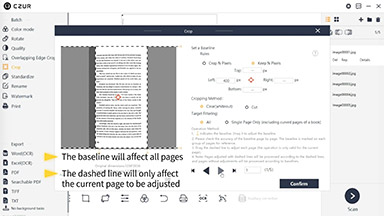
Profession Cropping Operations
2020-11-10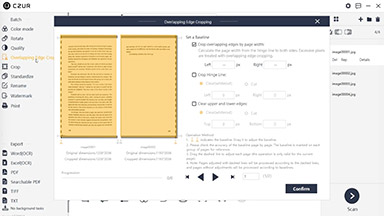
Demonstration of Overlapping Edge Cropping
2020-11-10
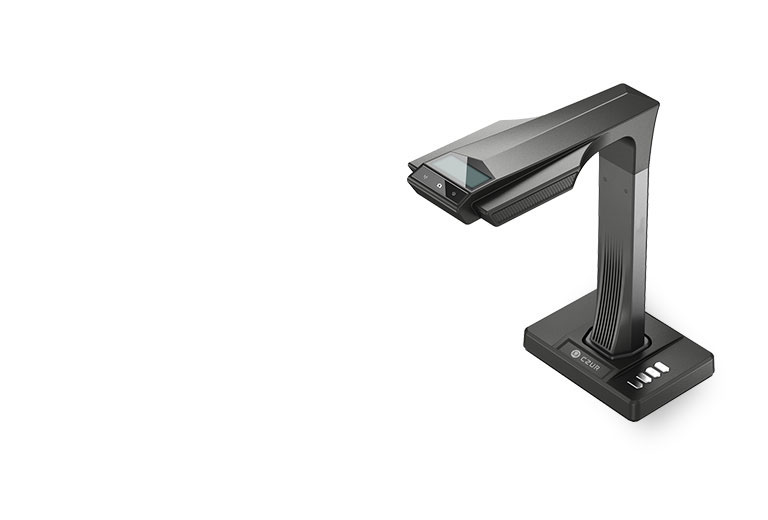 ET SeriesUser ManualEnglish
English - English
2025-03-28 ET SeriesMODE D'EMPLOIFrançais
Français - French
2025-03-28 ET SeriesBENUTZERH ANDBUCHDeutsch
Deutsch - German
2025-03-28 ET SeriesMANUALE DELL'UTENTEItaliano
Italiano - Italian
2025-03-28 ET SeriesРУКОВОДСТВО ПОЛЬЗОВАТЕЛЯ Русский
Русский - Russian
2025-03-28 ET SeriesMANUAL DE USUARIOEspañol
Español - Spanish
2025-03-28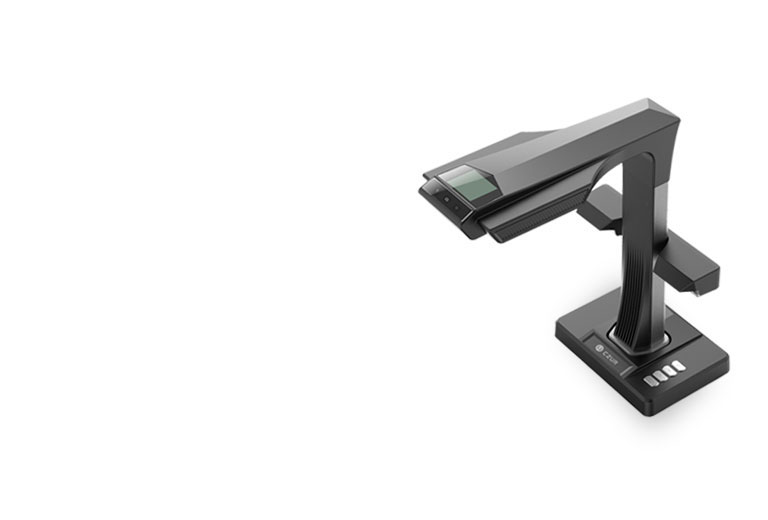 ET SeriesMANUAL DO USUÁRIOРortuguês
Рortuguês - Portuguese
2025-03-28 ET Seriesユーザーマニュアル日本語
日本語 - Japanese
2025-03-28
